
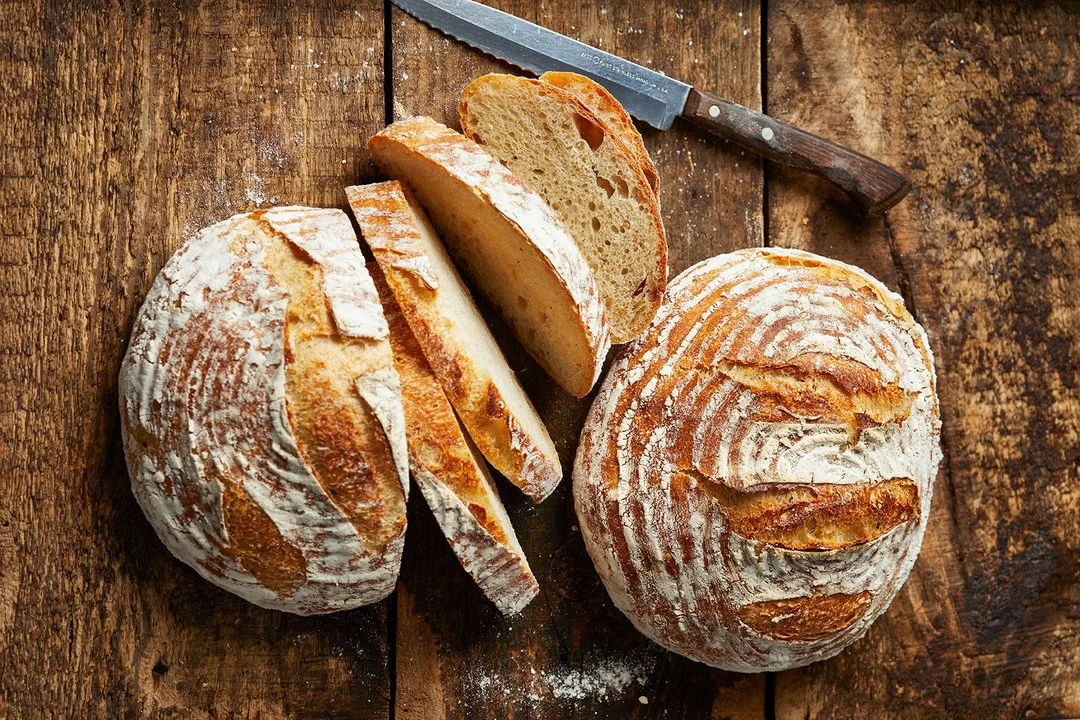
Sourdough Bread!

Ali’s Journey
I started making sourdough in May of last year after a friend told me about a class she had taken, where she received starter and instructions for making bread. I had been scrolling TikTok for a while, curious about creating my own starter from scratch, but the countless variations and the time and care required to get it ready felt intimidating. So, I asked my friend for the class details and decided to bring my mom, my best friend, and my boyfriend’s mom along to enjoy the experience together! We all got our hands dirty shaping our loaves and left with our own starter to nurture at home.
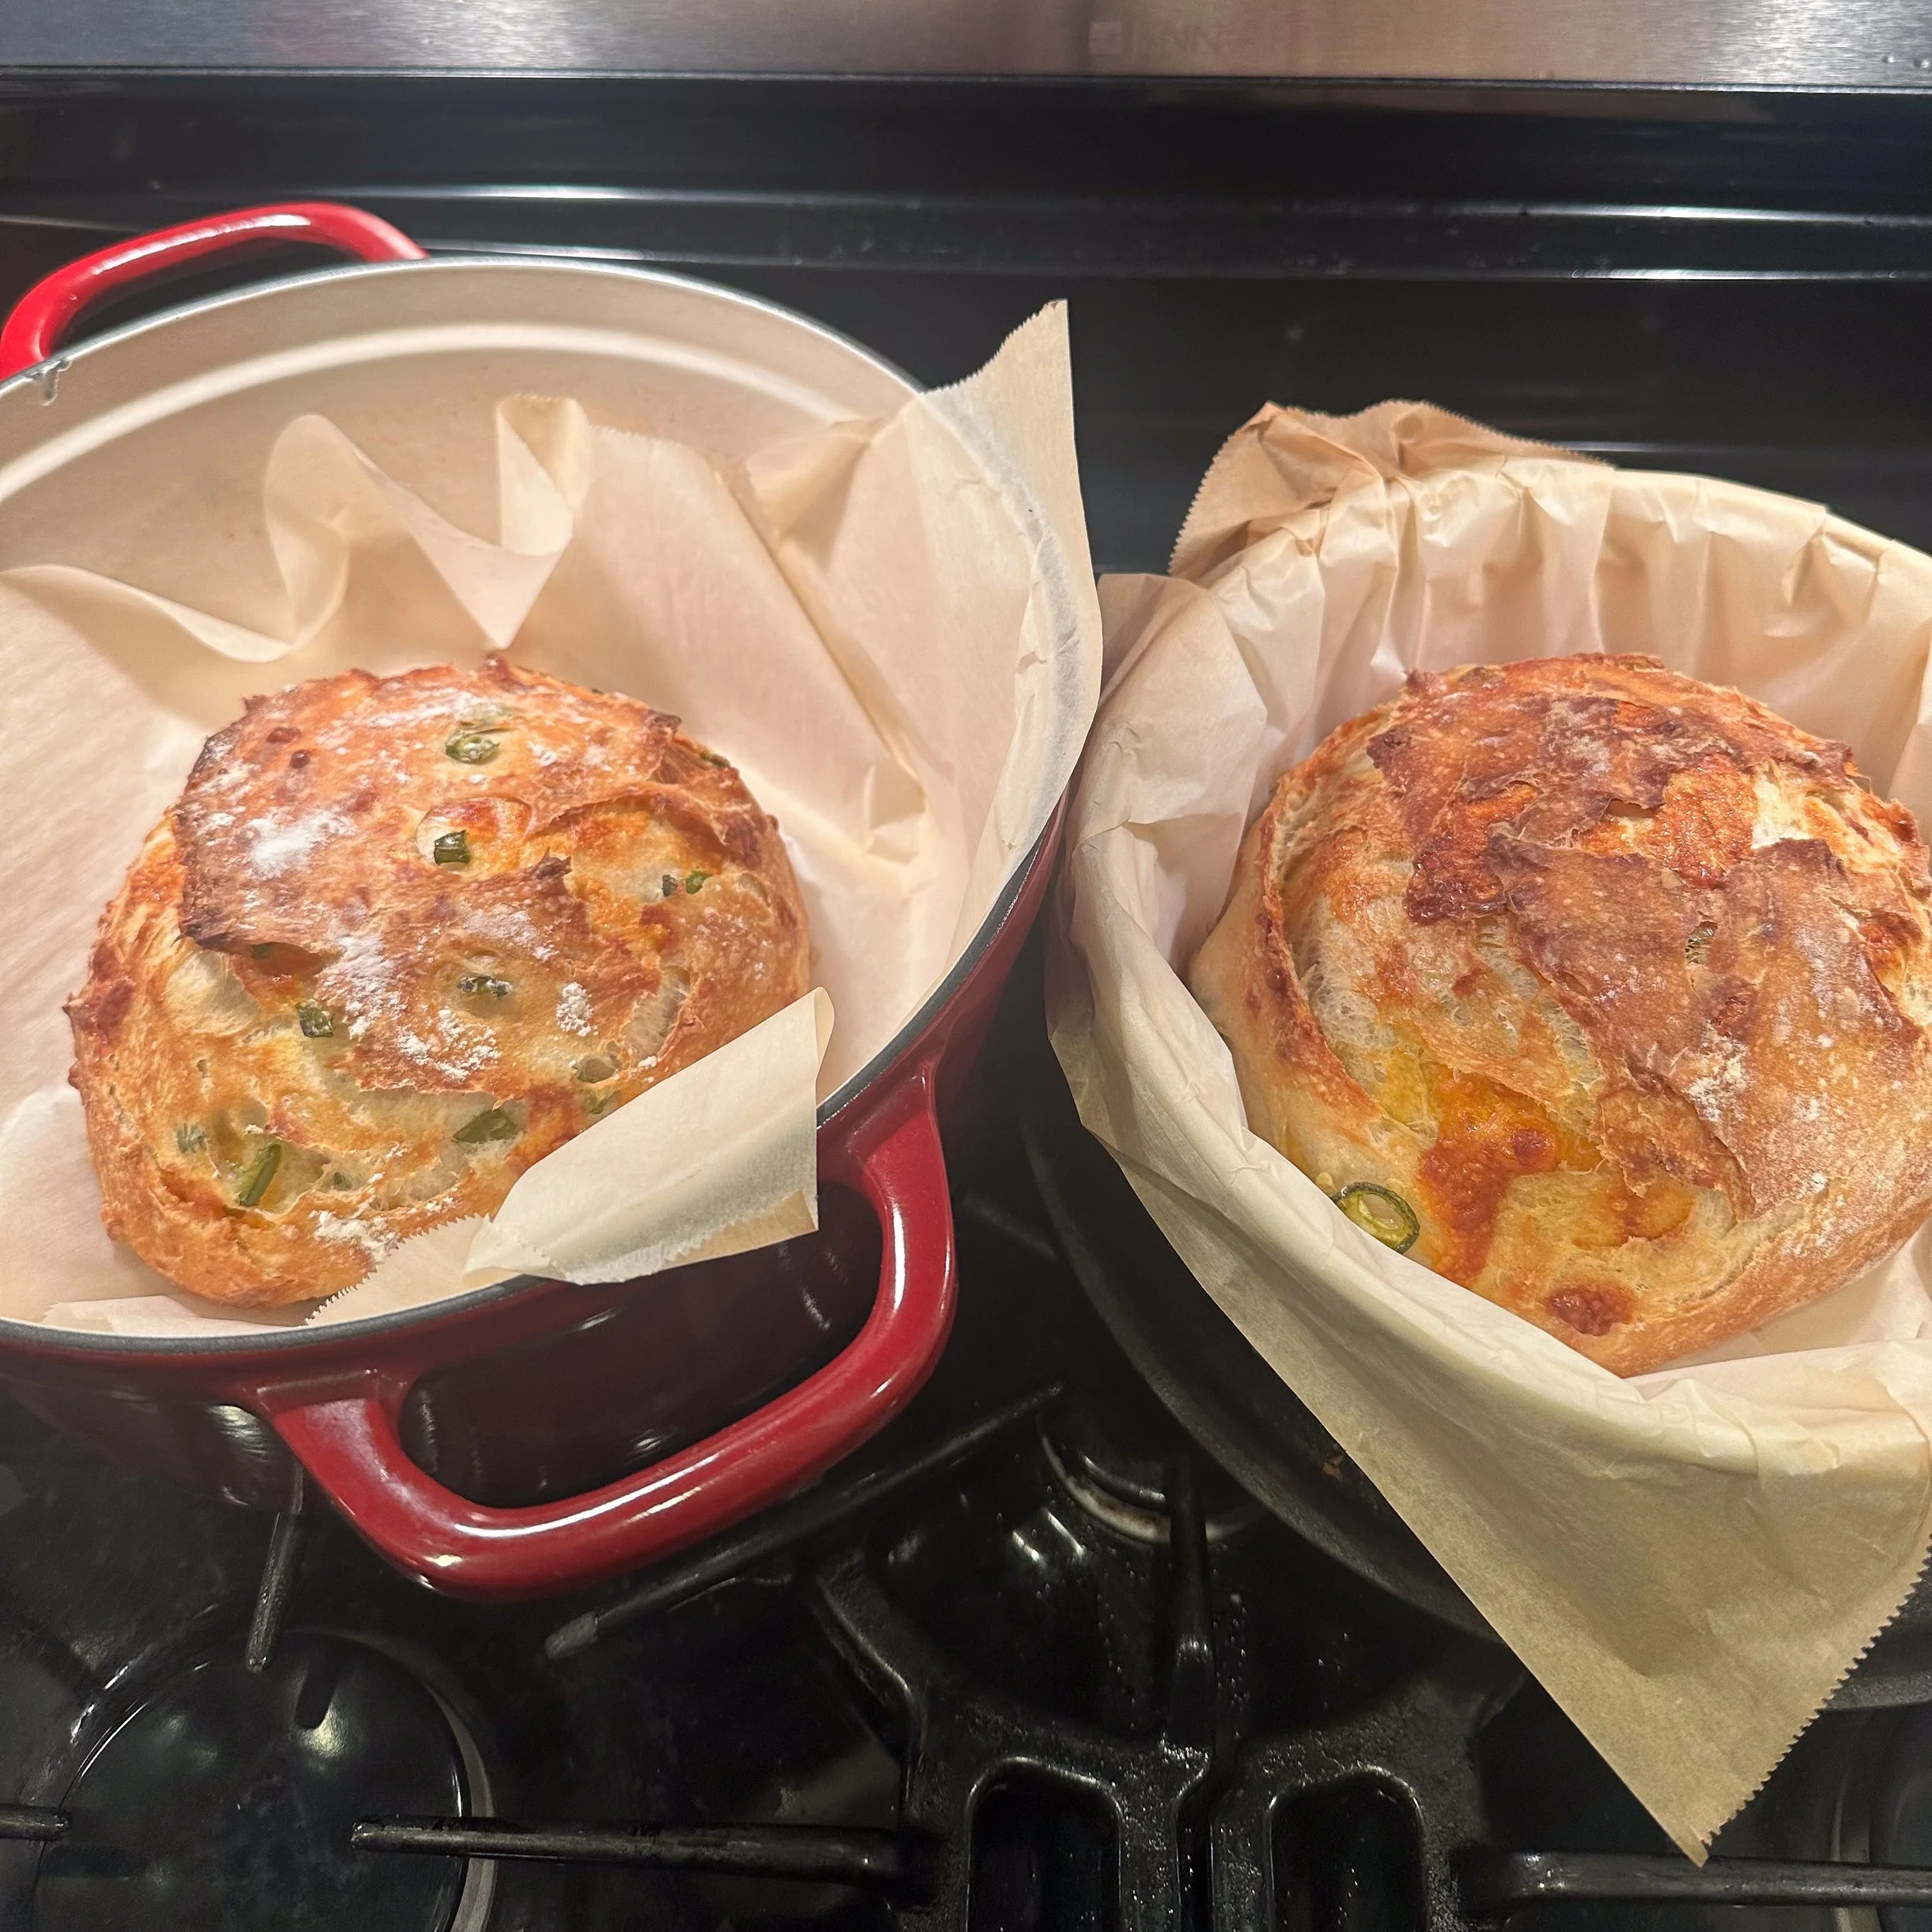
What I’ve learned is sourdough requires patience. The loaf we shaped at class needed to bulk rise overnight, but when I finally baked my first creation, I was hooked! Since then, I’ve experimented, not only with inclusions (jalapeno cheddar remains my favorite), but with using it for pumpkin bread, pancakes, scones, cheese crackers, and more.
I learned quickly that sourdough makes for a thoughtful homemade gift that everyone seems to love, especially around the holidays! While there are endless techniques for sourdough, I still rely on what I learned in that class, and I enjoy trying new recipes whenever inspiration strikes. If you’re thinking about starting your own sourdough journey, I’d be happy to share some starter and be your cheerleader through the sourdough journey!

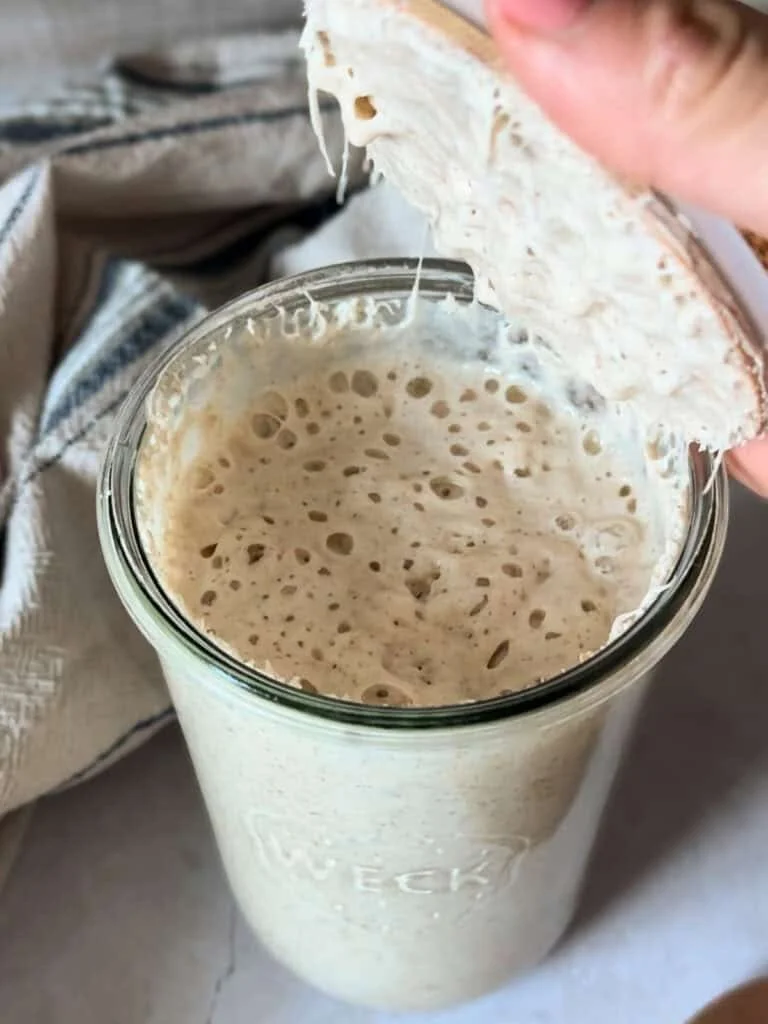
How to activate starter:
“Feed” it at a 1:1:1 ratio. This means, if your starter is about 1/4 a cup or 1 inch from the bottom of the jar, feed it the same amount - 1/4 cup of flour and 1/4 cup of water and stir. Make it the consistency of think pancake batter. Use a coffee filter or paper towel over the top and tighten with a jar lid. Let it sit for 2-4 hours (sometimes longer if it’s cold inside) to see it double in size! That’s when you know it’s ready to be used for bread making.
Sourdough Loaf Ingredients:
1/4 cup bubbly starter
1 1/3 cups of water
1 1/2 tsp. salt
~ 4 cups all-purpose or bread flour
Let’s get to making some bread!

-
Make sure your starter is fed and has doubled in size! This means it’s active and ready to use.
-
Once the starter has risen, grab a glass or plastic bowl. (Tip: Stainless steel kills sourdough bacteria needed for bread to rise so stay away from those bowls.)
-
Mix 1 1/3 cups of water and 1 ½ salt in bowl. Grab ¼ cup of active starter and place in water. (If it floats it’s a good indicator that it’s active and ready to use!) Mix everything together to create milky water.
Using a large spoon or Danish Whisk slowly mix in flour into mixture. Start with one cup then continue to add and use your hands toward the end. Expect your dough to be “sticky” to touch… this will decrease with folding in next steps.
Cover with a damp towel or plastic wrap and let it rest at room temp for 30 min.
-
The dough has rested and spread a little by now but work it back into a ball by grabbing one side and folding it into the center. Repeat, working your way around until it begins to tighten.
Optional: If you want to increase fluffiness of the bread repeat this step two more times before bulk rise. Let it sit 30 min - 1 hour between each time.
-
Cover with a plastic wrap or bowl cover & let sit overnight at room temperature.
Rule of Thumb: Your dough needs a minimum of 10-12 hrs from mixing before you bake, so time accordingly. Letting your dough ferment a little longer than 12 hours will make the bread tangier (more sour) and better for your gut.
-
The following day, you’ll see it has grown! Line a smaller bowl with a cotton or linen cloth and sprinkle with flour.
Scrape the dough out onto a lightly floured surface. If you want to add inclusions now would be the time to put it in each of the following folds!
Take the top of the dough, gently stretch and fold into the center and repeat with other side. Roll up into a ball and place in smaller bowl with a cloth for 30 min.
Preheat the oven to 450 degrees.
-
Place the dough on parchment paper. Sprinkle flour and gently spread along surface evenly. Using tip of a razor blade or sharp knife, make one long cut where you’d like. This will be where the bread stretches. Then get creative with other cuts! I like doing leaves.
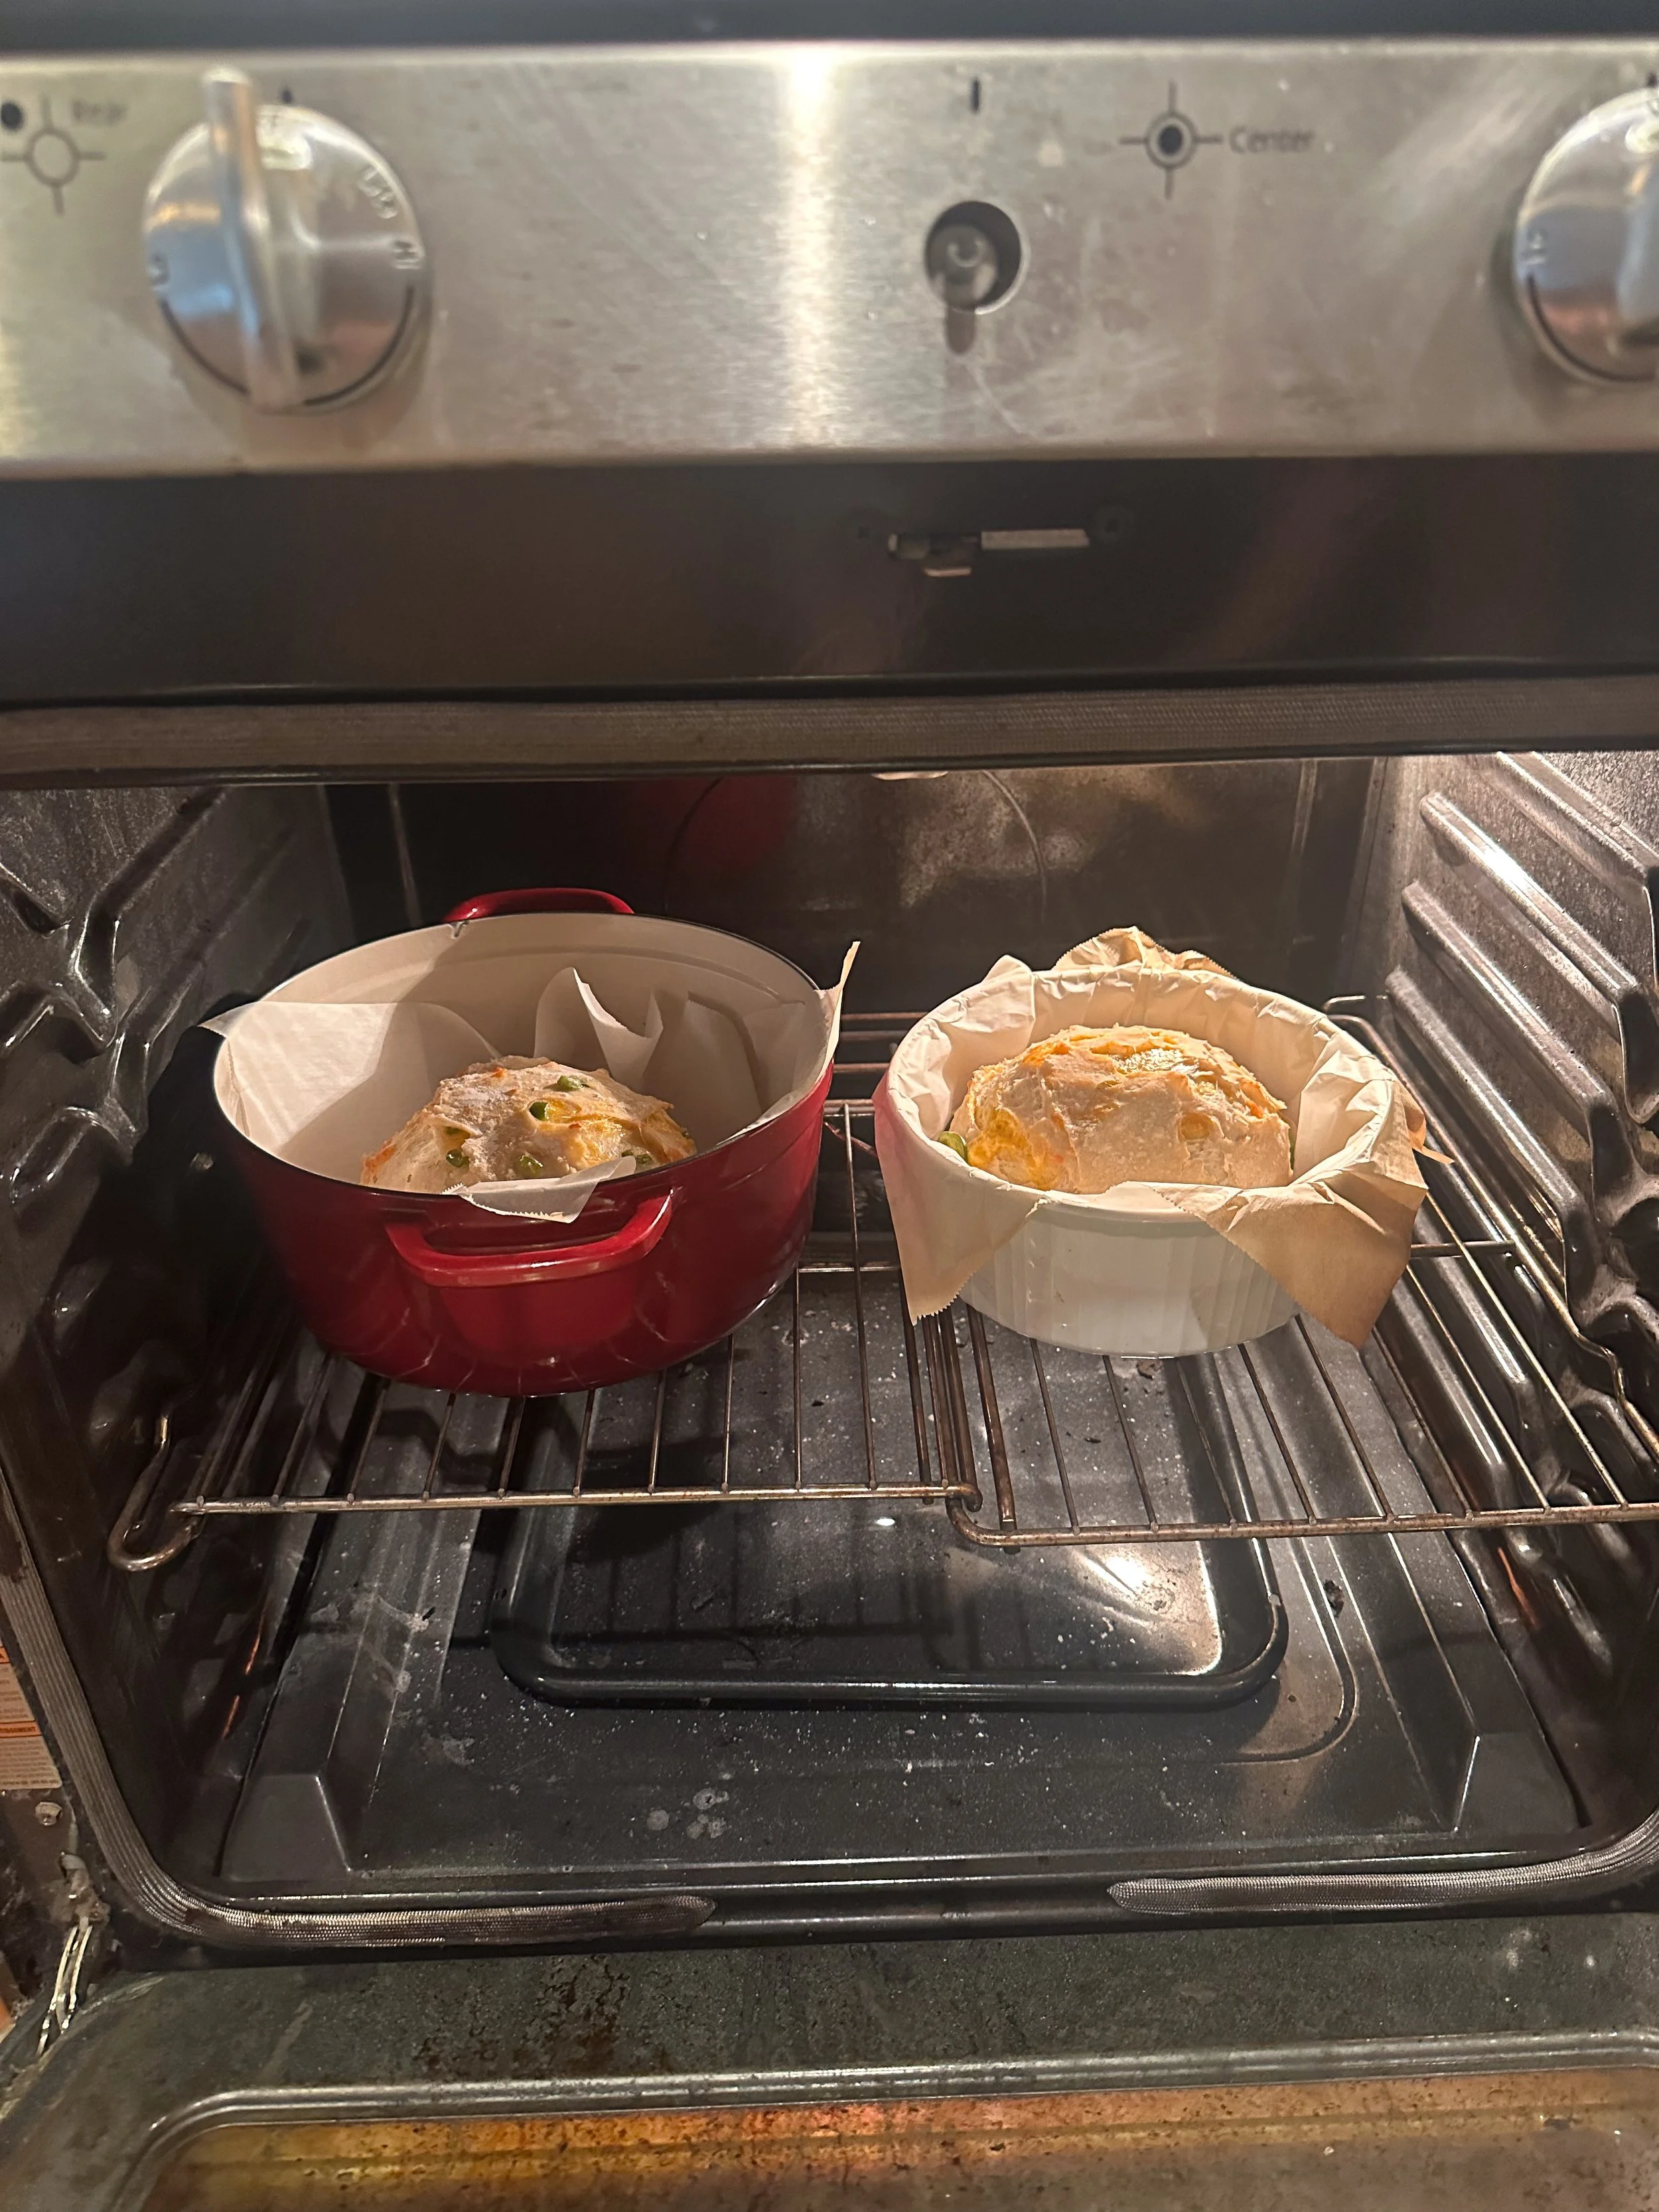
Use the parchment paper to transfer your loaf into backing pot (Dutch oven or corning ware recommended).
-
Place lid on baking pot and place in the oven. Reduce heat to 425 degrees.
Bake the dough with lid on for 30 minutes. Remove the lid and continue to bake for another 30 min or when it turns golden brown.
When finished, let it cool on wire rack for about an hour for full rise within. I sometimes ignore this and cut open sooner to enjoy it warm!
-
Now it’s time to enjoy the long labor of sourdough love!
Store in brown bag or tea towel. Sealed containers or plastic bags tend to mold quicker.